
Open a terminal. As of 2026-08-25, the shortest honest answer to how to install OpenAI Codex CLI for task automation is not one installer command. It is one verified sequence: install Codex CLI, confirm the binary you installed, authenticate in a way that matches where the task will run, choose a permission boundary, then use codex exec for the first run that can actually be scripted.
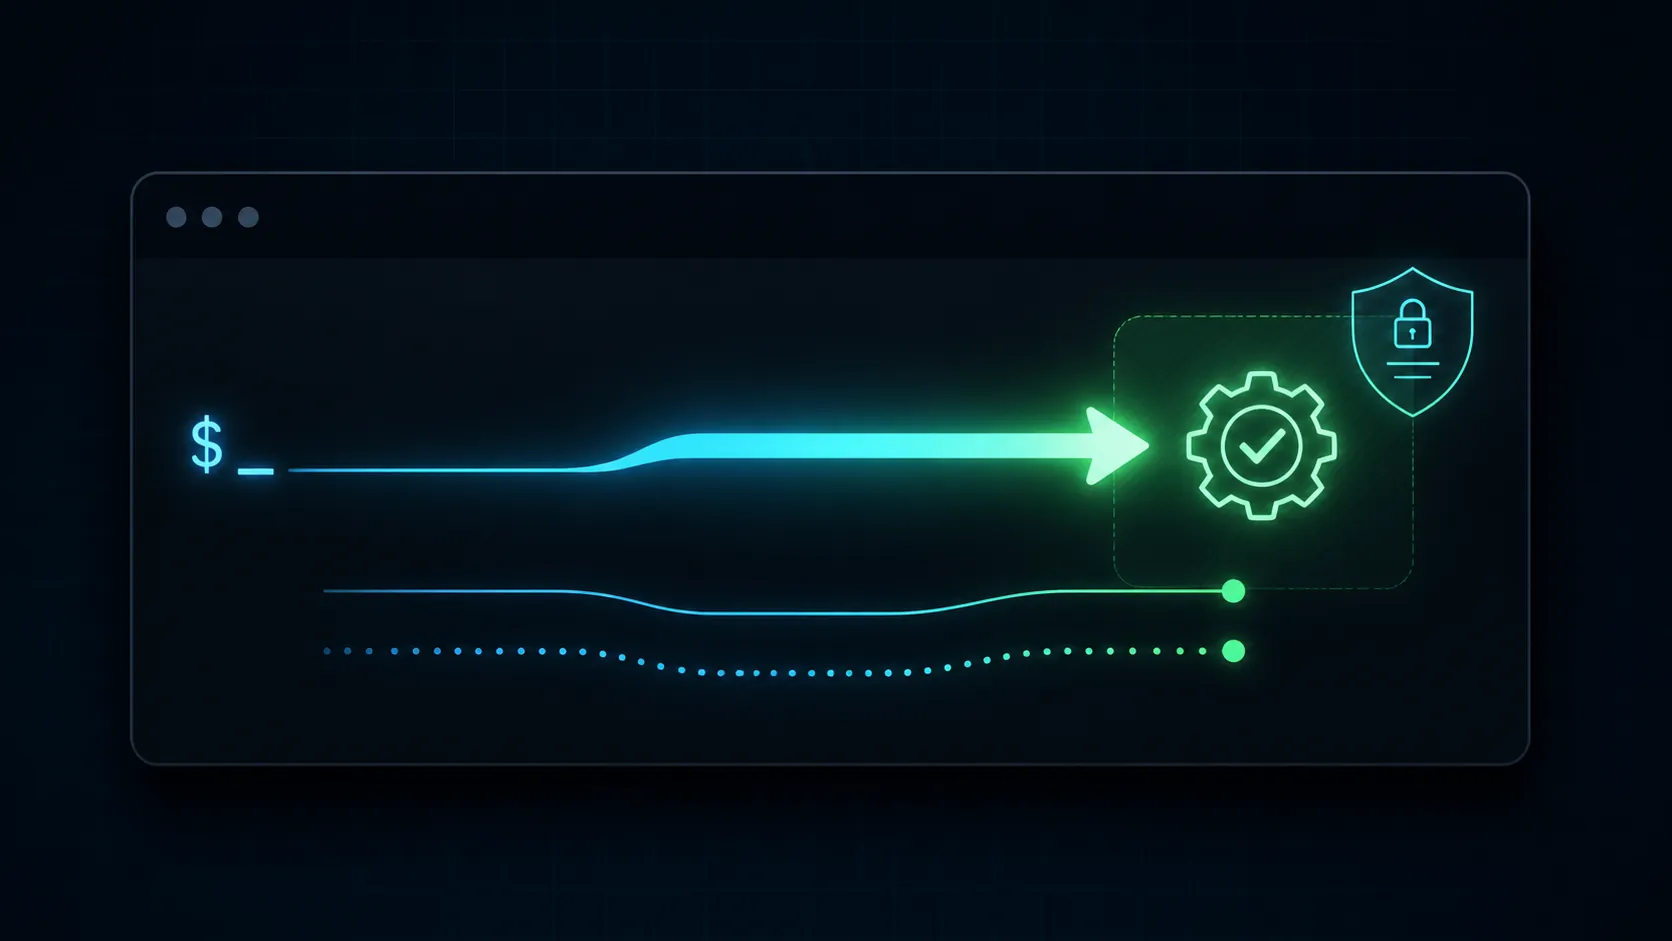
The official install routes now converge cleanly enough that you do not need to collect fragments from GitHub, npm, Learn docs, and setup posts before you can start. The supported paths include the standalone shell installer, the PowerShell installer, the npm global package, the Homebrew cask, and direct binaries from GitHub Releases. [1]
Install Codex CLI, then stop and verify it
Pick the installer that matches how you normally maintain developer tools. After that, the guide deliberately collapses back to one command: codex --version. If that check fails, nothing later in the automation path is trustworthy yet.
| Use this route if… | Command or action |
|---|---|
| You want the official standalone installer on macOS or Linux | curl -fsSL https://chatgpt.com/codex/install.sh | sh |
| You are installing from Windows PowerShell | powershell -ExecutionPolicy ByPass -c "irm https://chatgpt.com/codex/install.ps1 | iex" |
| You already manage global Node/npm tools | npm install -g @openai/codex |
| You use Homebrew casks | brew install --cask codex |
| You need a direct binary for a controlled environment | Download the appropriate asset from the openai/codex GitHub Releases page |
Those commands and release binaries are documented in the official openai/codex repository. [1]
codex --versionFor npm installs, use the scoped package name exactly: @openai/codex. The npm package page is for @openai/codex, not an unrelated unscoped codex package. [2]
There is one prerequisite wrinkle worth leaving visible instead of smoothing over. Third-party setup sources disagree on the Node.js floor: DeployHQ states Node.js 22 or later, while Arm’s install guide states Node.js 18 or later. [3][4] If you are using the npm route, a current active LTS baseline is the safer choice than aiming for the lowest version any one guide accepts. If you use the standalone installer or a release binary, verify the installed codex binary directly instead of assuming the Node discussion applies to your path.
Authenticate for the place Codex will run
Authentication is not a cosmetic step before the “real” setup. It decides whether the same command will work only while you are present in a live terminal or can also run in a headless job later.
The Codex CLI quickstart documents two authentication routes: signing in with a ChatGPT plan or using an API key. [5] The ChatGPT sign-in route is friendly for local interactive use because it lets you authenticate through the account flow. The API-key route maps more naturally to CI, cron, containers, and other places where no browser-backed login prompt should be waiting for a human.
| Authentication route | Best fit | Automation consequence |
|---|---|---|
| ChatGPT-plan sign-in | Local interactive use, first evaluation, developer workstation sessions | Good for proving Codex CLI works; less convenient for unattended jobs that cannot complete an interactive login |
| API key | Headless runs, CI jobs, scheduled scripts, controlled service accounts | Fits non-interactive execution, but the key becomes a secret with billing and rotation responsibilities |
Do not treat ~/.codex/auth.json as harmless local state. The Learn quickstart warns that this file is a credential. [5] It should not be committed, copied into images casually, uploaded as a build artifact, or handed to a teammate as if it were a preference file. The same standard applies to API keys passed through environment variables in CI: the variable may be the right delivery mechanism, but it still needs secret storage, masking, and a rotation path.
If you are wiring Codex into a broader knowledge-work or vault workflow, the same secret-boundary problem shows up in other agent tools too. FlowDesk’s AI agent security testing guide is a useful companion for thinking through what an agent can read, edit, and leak before it becomes part of a routine.
Choose the first-run permission mode deliberately
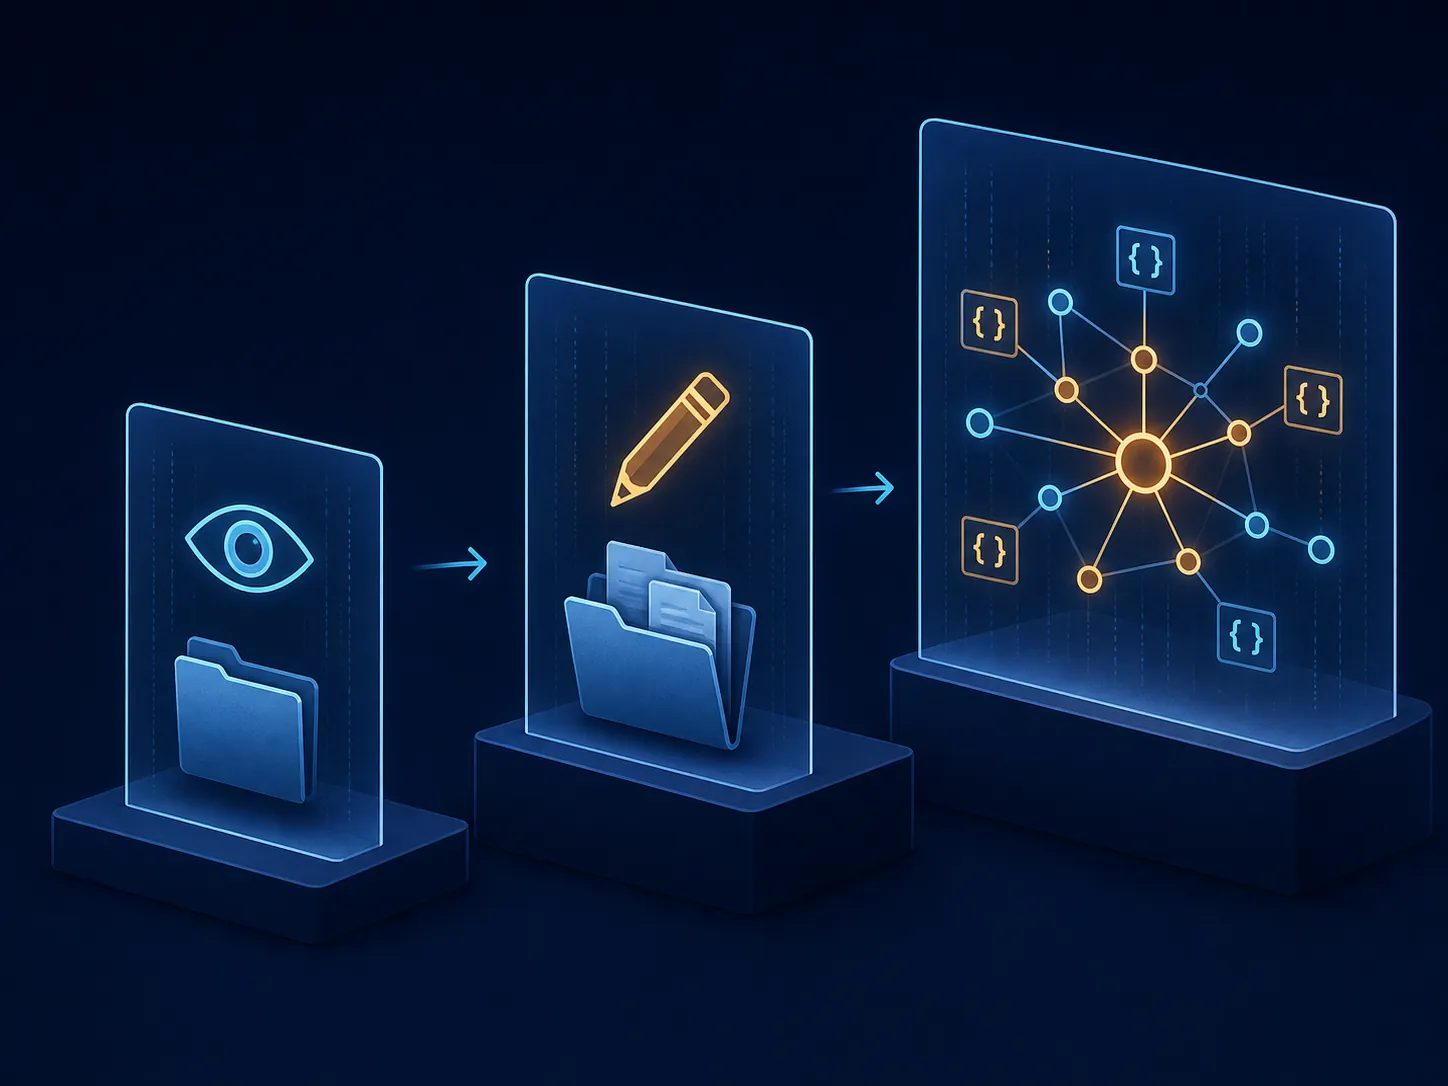
On first run, Codex CLI asks you to choose a permission mode. The documented modes are read-only, workspace-write, and full-access. [5] These are not convenience levels. They define what the agent is allowed to touch while it reasons and acts.
| Mode | Use it when… | What to watch |
|---|---|---|
| Read-only | You are validating installation, authentication, repository understanding, or command behavior | The agent can inspect but should not be able to modify the workspace |
| Workspace-write | The task must edit files in the project directory | Review diffs and keep the job scoped to the repository you intended |
| Full-access | You have a specific reason to allow broader filesystem or command access | The blast radius is wider; do not make this the default just to avoid thinking about permissions |
The practical starting point is read-only. It lets you check whether Codex understands the repository and responds usefully without making file changes. Move to workspace-write when the task actually requires edits. Reserve broader access for a case you can explain to the next person who inherits the script.
Permission boundaries matter even more when the task moves from your laptop to unattended execution. A local read-only mistake wastes time. A CI job with a broad token, broad filesystem access, and unclear sandboxing can change the wrong files or expose the wrong secret before anyone sees the final answer.
Use the interactive TUI only as the smoke test
Once codex --version works and authentication is set, starting the interactive terminal UI is a reasonable smoke test.
codexAsk it something bounded, such as to inspect the current repository and explain the test command. Keep the first session read-only unless you are intentionally testing edits. At this stage, you are proving that the binary launches, the account is recognized, the model can see the workspace you expect, and the permission mode behaves as chosen.
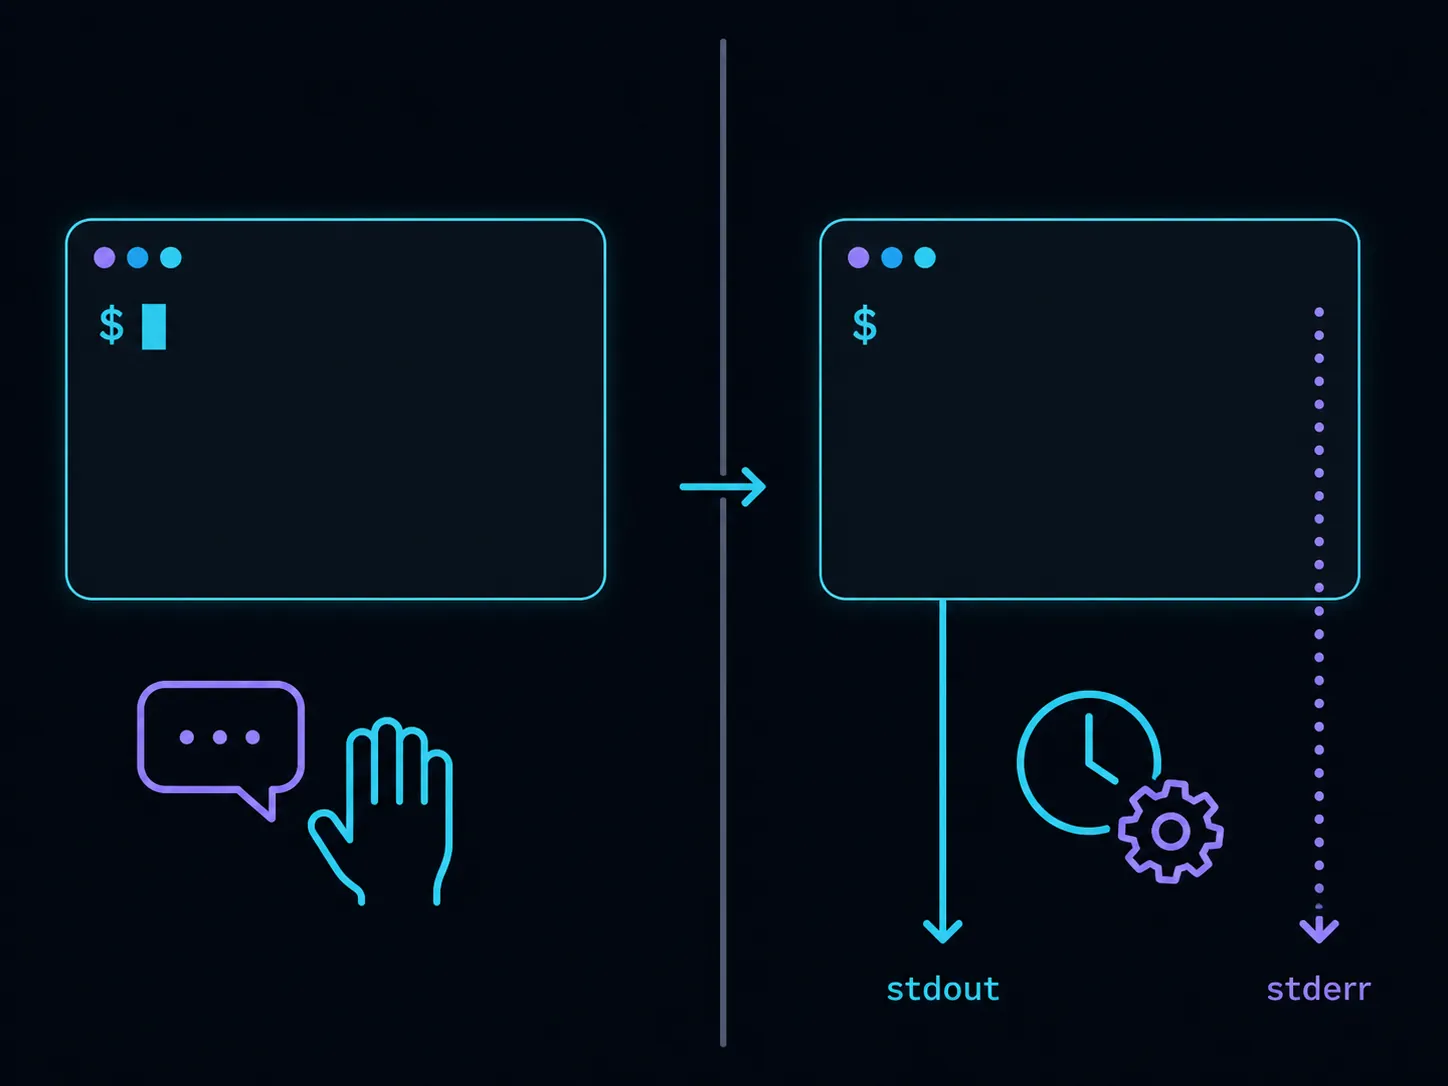
That still is not task automation. An interactive terminal session can be useful, but it cannot be dropped into a shell script without someone sitting there to approve, redirect, or interpret the conversation. The handoff happens with codex exec.
Run the first scriptable task with codex exec
The non-interactive mode docs define codex exec as the command for headless runs. It takes the prompt as an argument, runs non-interactively, sends the final agent message to stdout, sends progress to stderr, and uses a read-only sandbox by default. [6]
codex exec "Inspect this repository and print the command a developer should run to execute its tests. Do not modify files."That stdout/stderr split is the first automation-friendly detail worth caring about. A script can capture the final answer while still letting progress logs appear in the job log. For example:
codex exec "Inspect this repository and identify the test command. Do not modify files." > codex-result.txtBecause the default sandbox is read-only, this is the right first automated task: inspection, summarization, classification, command discovery, or a report. If the task must edit files, ask for that explicitly and set the sandbox accordingly. The current docs show explicit sandbox flags such as --sandbox workspace-write for editing tasks, and they note that --full-auto is deprecated in favor of explicit sandbox choices. [6]
codex exec --sandbox workspace-write "Update the README's local test instructions based on the package scripts. Only edit README files."That command is automation-capable, but it is also capable of changing files. Run it inside the repository you intend, review the diff afterward, and avoid turning a successful local edit into an unattended write job until you know what review gate will catch unwanted changes.
Use JSONL events when a log parser needs more than prose
For scripts that need to observe intermediate events, codex exec supports --json, which emits JSONL events. [6]
codex exec --json "Inspect this repository and list the likely test command without changing files."JSONL is useful when the consuming system cares about event streams rather than a single final paragraph. It is also less brittle than scraping a human-readable terminal transcript.
Use an output schema when another tool consumes the answer
If the next step expects structured data, the non-interactive docs also document --output-schema for structured output. [6] A minimal pattern is to keep the prompt narrow and make the schema do the format enforcement.
codex exec \
  --output-schema ./codex-output.schema.json \
  "Inspect this repository and return the test command and one-sentence rationale. Do not modify files."
A hypothetical downstream step might read that JSON, decide whether a test command was found, and then open a pull request comment or fail a build. The important part is that Codex is no longer acting as a chat partner waiting for follow-up; it is producing a bounded result for another process.
Run inside a git repository unless you mean not to
The documented non-interactive flow expects normal use inside a git repository, with --skip-git-repo-check available when you deliberately want to bypass that check. [6] For automation, that expectation is healthy. Git gives you a boundary, a diff, and a way to decide whether the agent changed what it was supposed to change.
git status --short
codex exec "Inspect this repository and summarize the current project structure. Do not modify files."
Use --skip-git-repo-check as an explicit exception, not as a boilerplate flag copied into every script.
A first automation script that is boring on purpose
A good first script should prove headless execution, capture the result, and avoid writes. This example assumes you are already inside the repository you want Codex to inspect.
#!/usr/bin/env bash
set -euo pipefail

codex --version

git status --short

codex exec \
  "Inspect this repository and identify the command a developer should run before opening a pull request. Do not modify files." \
  > codex-pr-check.txt

cat codex-pr-check.txt
There is no magic scheduler here, no hidden approval flow, and no pretend autonomy. The script verifies the binary, confirms it is in a git working tree, runs Codex headlessly, and writes the final answer to a file. That is the smallest useful proof that the install can support task automation.
When you later allow edits, keep the script just as plain. Add --sandbox workspace-write, narrow the prompt to the files Codex may touch, and add a diff review step immediately after the run.
codex exec --sandbox workspace-write \
  "Update docs/setup.md to mention the current test command. Do not edit any other file."

git diff -- docs/setup.md
Before moving the same command into CI
CI changes the failure mode. Locally, a bad auth state interrupts you. In CI, an auth mistake becomes a failed job, an exposed variable, or a token that nobody remembers how to rotate.
- Use an API key or other documented non-interactive authentication path instead of a browser-dependent login.
- Store the key in the CI system’s secret manager, not in the repository or a generated artifact.
- Keep the sandbox read-only until the job has a clear reason to write.
- If the job writes, require a diff, pull request, or human review boundary before changes land.
- Capture stdout for the final result and preserve stderr for progress and troubleshooting.
Windows deserves one extra pause. The official repository documents Windows sandbox configuration, and a Windows-focused 2026 guide calls out native elevated versus unelevated sandbox choices, CODEX_NON_INTERACTIVE=1, and error 1385 logon-type denial as issues to understand when moving beyond a local terminal. [1][7] If your automation runs on Windows, test the exact runner context instead of assuming the same sandbox behavior you saw in an interactive shell.
Platform drift is another reason to keep the install path visible in your script or runbook. The Codex repository notes WSL-related changes, including the end of WSL1 support with the 0.115 move to bubblewrap plus seccomp. [1] A setup that worked on an older Windows subsystem can fail for reasons that have nothing to do with your prompt.
AGENTS.md, scheduled runs, and what this guide is not trying to cover
Once codex exec works, the next useful improvement is usually repository guidance, not a more dramatic installer. Community setup material commonly points to AGENTS.md and command practice as ways to give terminal agents project-specific instructions. [8] FlowDesk’s Claude AI and Obsidian workflow guide covers similar CLI and agent-instruction habits in a vault context, and the same discipline applies here: put durable project rules where the next run can find them.
Do not confuse a local codex exec script with the Codex app’s scheduled Automations. OpenAI’s Codex app announcement describes Automations, skills, sandboxing, and a review-oriented workflow at the app level. [9] Jason Liu’s June 2026 write-up further distinguishes scheduled tasks, which start a fresh thread each run, from scheduled messages, which reuse the same thread. [10] Those are onward paths, not replacements for proving that your local CLI command can run headlessly with the right auth and sandbox first.
Cost and dependency choices also become less abstract once a script is running unattended. ChatGPT-plan sign-in and API-key billing are operationally different choices, just as bundled-seat and pay-per-token tools behave differently in other AI workflows. If that tradeoff matters for your team, FlowDesk’s AI note cost comparison is a useful adjacent frame.
At this point, the installation part has done its job. Codex CLI is installed, codex --version proves the binary is reachable, authentication matches the execution environment, permissions are chosen as a boundary rather than a preference, and codex exec has produced a headless result. That is the setup worth preserving in a runbook.
References
- openai/codex — GitHub.
- @openai/codex — npm.
- Getting started with OpenAI Codex CLI: AI-powered code generation from your terminal — DeployHQ.
- Codex CLI — Arm Learning Paths.
- Codex CLI quickstart — ChatGPT Learn.
- Non-interactive mode — ChatGPT Learn.
- How to Install Codex CLI on Windows (2026 Guide) — ITECS.
- Codex CLI cheat sheet — Shipyard.
- Introducing the Codex app — OpenAI.
- Two Kinds of Scheduled Work in Codex — Jason Liu, 2026-06-28.
Comments
Join the discussion with an anonymous comment.