
The moment an evacuation warning becomes real, your insurance claim has already started. Not because paperwork outranks getting out alive — it does not — but because a wildfire evacuation documentation checklist for insurance claim purposes has to survive the same conditions you do: bad light, shaking hands, low battery, smoke, pets underfoot, and someone yelling that it is time to leave.
A full home inventory is a calm-day project. During an evacuation, trying to build one from scratch can waste the few minutes you need for people, medications, animals, keys, phones, and documents. The useful question is narrower: what evidence can you capture now that will still help later, if the house is damaged or unreachable?
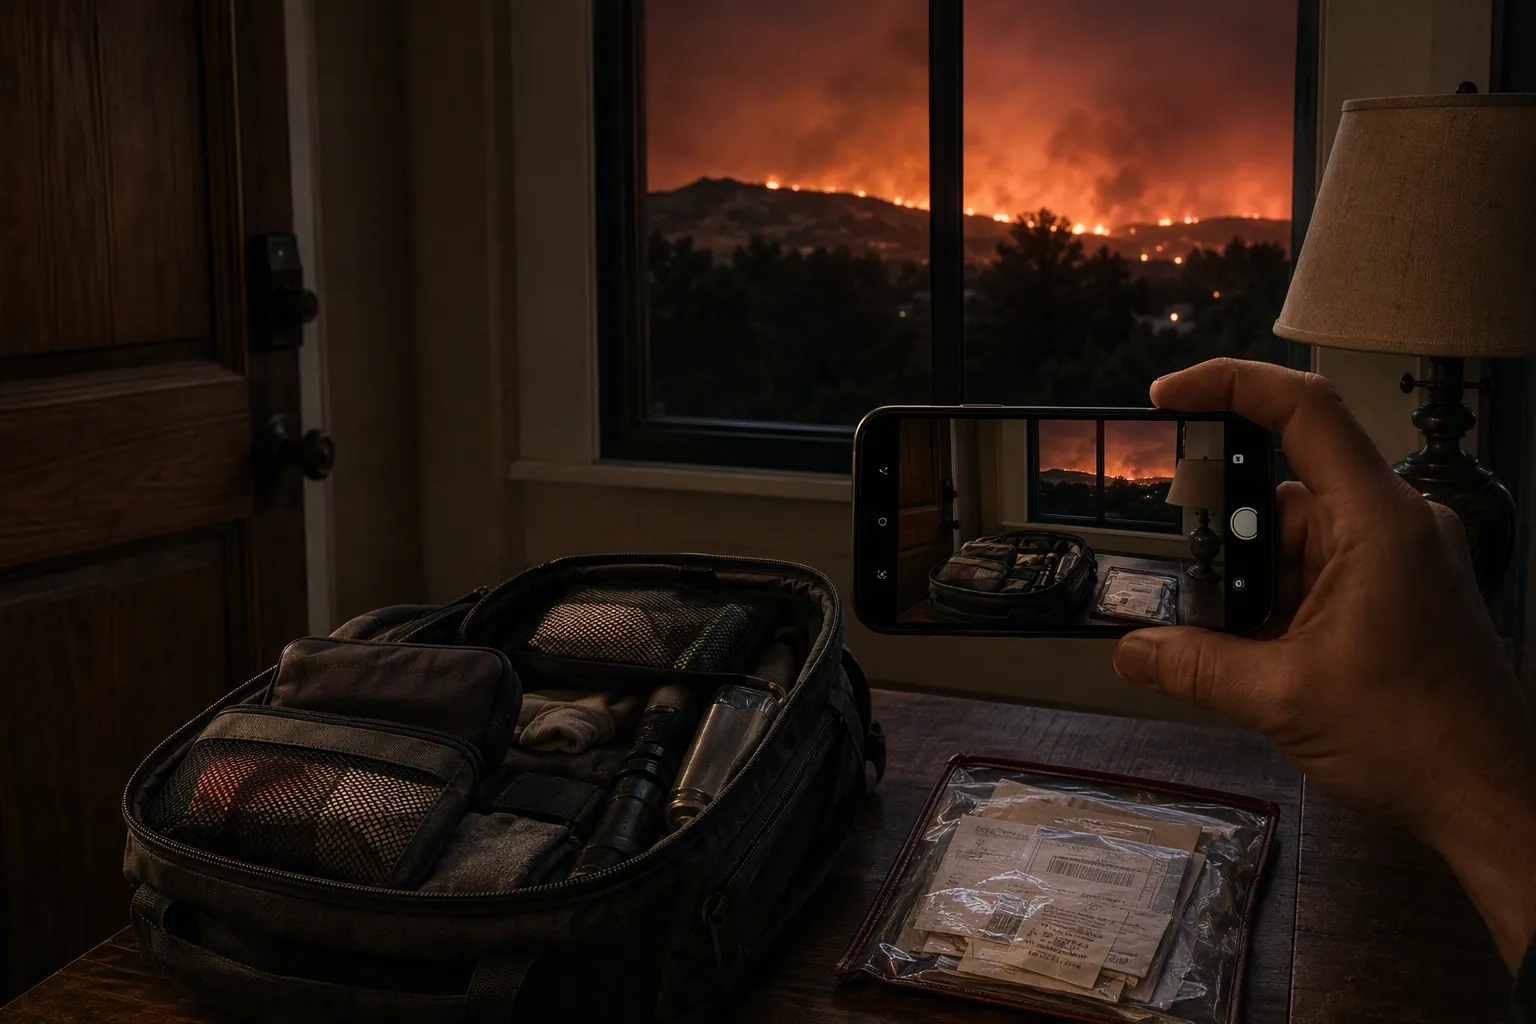
Use warning time as the checklist
The order matters more than the length. If you have seconds, you do not need a beautifully categorized inventory. You need proof that the property existed, that contents were present, and that the home’s condition was documented close to evacuation. If you have minutes, you can add room-by-room evidence. If you have hours, you can start filling the gaps that make contents claims slow and frustrating later.
| Warning time | Documentation goal | What to capture first |
|---|---|---|
| Go now or less than 5 minutes | Create a basic visual record before leaving | Fast video sweep, key rooms, exterior, high-value areas, document pouch |
| 5 to 20 minutes | Turn the basic record into usable room evidence | Room photos, closets, drawers, garage shelves, appliances, receipts, serial numbers where visible |
| 20 minutes to a few hours | Fill claim-support gaps | Cloud backup, inventory notes, recent improvements, maintenance records, purchase screenshots |
| A day or more | Build the inventory you wish you already had | Structured contents list, replacement details, off-site copies, policy review |
Do not treat these tiers as permission to delay leaving. If evacuation is immediate, the documentation task is small by design: unlock phone, record, narrate, leave. A blurry video made before departure can be more useful than a perfect checklist left unfinished on the kitchen counter.
If you have almost no time
This is the tier for a warning that has become an order, a road that may close, or a household that is already struggling to move. The goal is not completeness. The goal is to capture broad evidence quickly enough that it does not interfere with evacuation.
Start one continuous video
Use the phone already in your hand. Start at the front door or entryway and say the date, the address, and that you are recording the home before evacuation. Then walk. Do not stop to make it elegant.
- Sweep each main room from the doorway.
- Open closet doors if they are directly in front of you.
- Pause briefly on electronics, tools, furniture, appliances, artwork, collections, musical instruments, and exercise equipment.
- Narrate anything the camera may not show clearly: “This is the primary bedroom closet,” “These are the garage tools,” “This refrigerator was replaced recently.”
- End with a quick exterior sweep if it is safe: roofline, siding, windows, deck, vehicles, fencing, outbuildings.
A continuous video helps because it preserves context. A later reviewer can see that the sofa was in the living room, the garage shelves were full, the appliances were installed, and the exterior condition was recorded before the fire reached the area. It will not prove everything, and it will not settle every coverage question, but it gives the future claim something firmer than memory.
Photograph what the video might miss
If the phone battery allows one more pass, take still photos only where they add detail. Do not photograph every plate and pillow. Aim for evidence that is expensive, easy to overlook, or likely to become a dispute because it disappears into ash, smoke damage, or debris.
- Closets with clothing, shoes, luggage, linens, or stored seasonal items.
- Garage and workshop shelves.
- Home office equipment.
- Kitchen appliances and small appliance clusters.
- Jewelry boxes, safes, firearms storage, camera gear, or hobby equipment, if visible and quick.
- Recent upgrades: new flooring, HVAC equipment, solar components, windows, decking, built-ins, or landscaping.
The point is not to create a museum catalog. It is to keep the claim from depending on whether you can later remember every shelf in the garage while sitting in a hotel room with a dead phone charger and a family that still needs dinner.
Grab the paper trail that cannot be recreated easily
If your documents are already gathered, take them. If they are scattered, do not begin a filing project during evacuation. Pick the highest-value proof first.
- Insurance policy declarations page, if printed and easy to reach.
- IDs, passports, birth certificates, and essential legal papers.
- Recent receipts for major purchases or home improvements.
- Vehicle titles, mortgage papers, lease documents, or contractor invoices if already in one known place.
- Medication lists and medical device information.
Loose receipts are not worth more than a person. But a clear pouch near the exit can earn its place in the go-bag because it does not ask anyone to think. That is the standard: ready, visible, portable.
Send or sync before you lose service
If the video stays only on a phone that later gets lost, wet, broken, or left behind, the evidence is fragile. When you are in the car or safely staged, upload the file to cloud storage, text it to a trusted person, email it to yourself, or save it in any account you can reach from another device. Do not stand in the driveway waiting for a large upload if the area is no longer safe.
If you have 5 to 20 minutes
This is the most dangerous amount of time for documentation because it feels long enough to do everything and is not. The right move is to improve the quality of proof without opening tasks you cannot close. Stay in motion. Work from the most claim-relevant areas outward.
Make a room-by-room photo pass
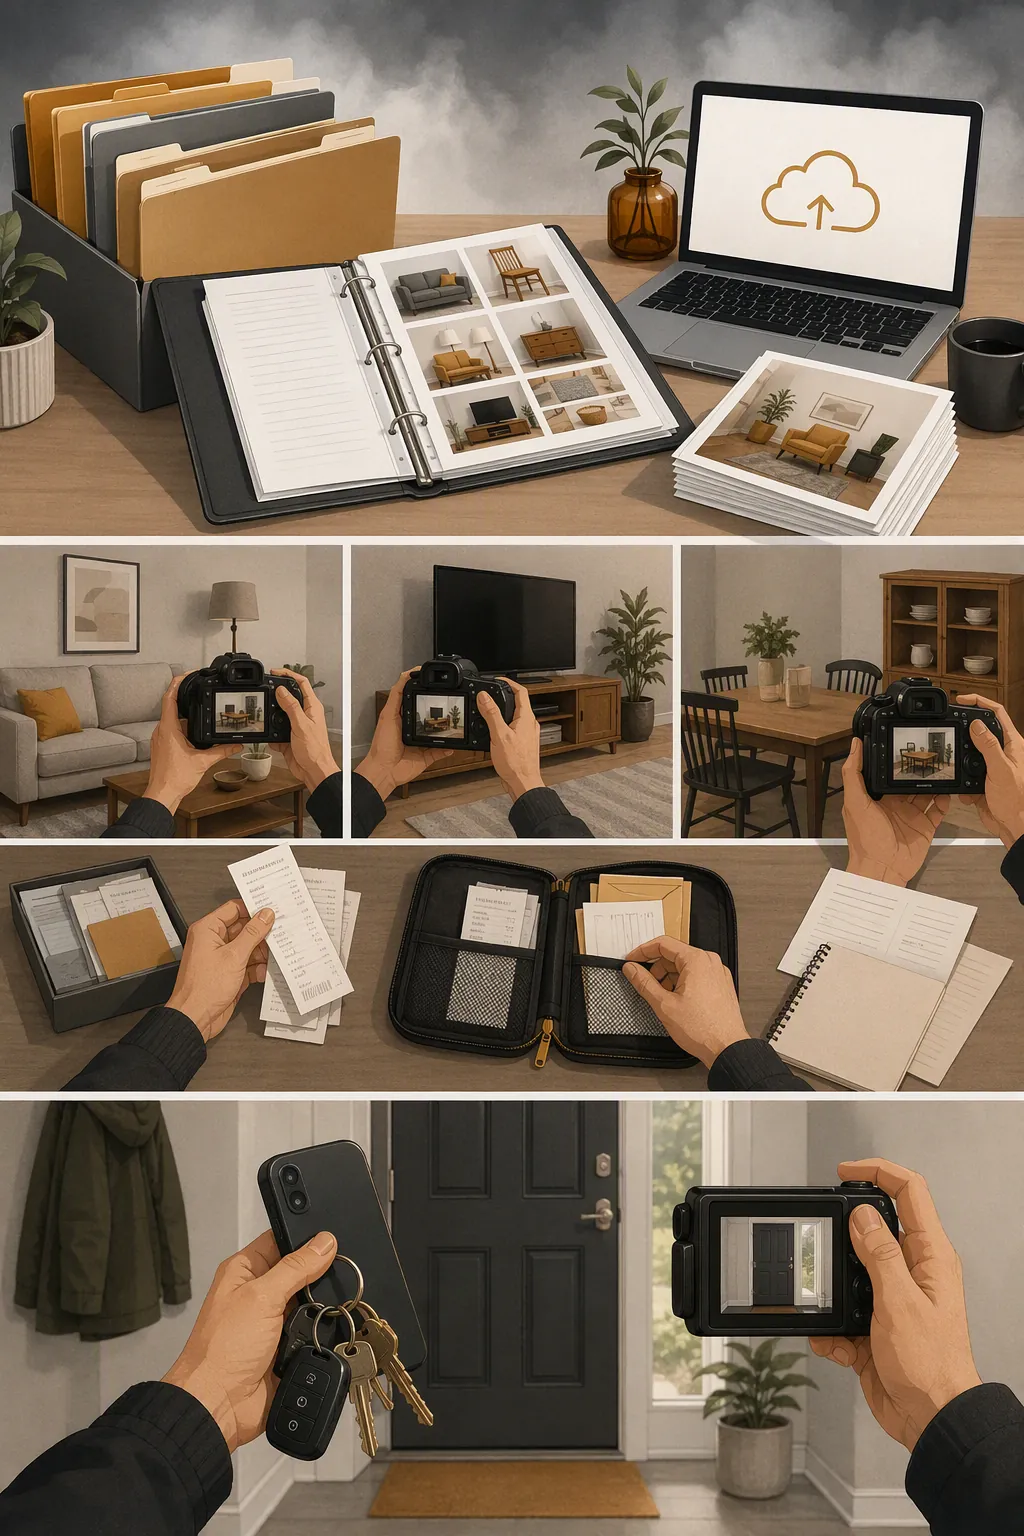
After the fast video, take still photos in a predictable pattern. Stand in each doorway and photograph the room from left to right. Then step inside and photograph storage: closets, cabinets, drawers, shelves, and built-ins. The pattern matters because later, when you are tired, it gives you a map. You will know you captured the room, then the storage inside it, instead of ending up with twenty random close-ups and no proof of where anything was.
- Kitchen: wide room shots, pantry, cabinets with dishes and small appliances, refrigerator exterior, stove, dishwasher, specialty equipment.
- Living areas: furniture, electronics, rugs, art, bookcases, media equipment, window coverings.
- Bedrooms: wide shots, closets, dressers, bedding, electronics, jewelry or watch storage if visible.
- Bathrooms and laundry: fixtures, washer, dryer, storage cabinets, linens, personal care appliances.
- Garage and storage: tools, bikes, outdoor gear, holiday bins, spare flooring or tile, paint labels, ladders, compressors, generators.
- Exterior: vehicles, fencing, deck, patio furniture, grill, shed, landscaping, visible utility equipment.
Capture serial numbers only when they are easy
Serial numbers can help with specific items, but this is where people lose time. Do not drag out appliances or crawl behind equipment while an evacuation clock is running. Photograph labels that are visible: computers, cameras, TVs, power tools, generators, bicycles, musical instruments, major appliances, and medical devices. If the label is not immediately accessible, take a clear photo of the item and move on.
Pull receipts by source, not by perfection
A rushed receipt hunt can become its own trap. The workable method is to capture sources, not individual history. Photograph the folder where appliance receipts are stored. Screenshot recent online orders for furniture, electronics, tools, and home improvement materials. Photograph contractor invoices if they are already in a known drawer or email folder. If you use a budgeting app, email account, or retailer account to locate purchases, take screenshots of the purchase list first and details second.
This is also the moment to photograph receipts for temporary evacuation expenses if you have already started spending: hotel, fuel, food, pet boarding, emergency supplies. Whether a policy pays for a specific expense depends on coverage, limits, and circumstances, so do not assume reimbursement. Still, keeping the trail is easier than recreating it from card statements later.
Document condition, not just ownership
A contents claim is not only a list of things. The condition and placement of those things can matter. A photo showing a well-kept sofa in the living room does more work than a note later saying “sofa.” A video of cabinets, flooring, and built-ins before evacuation can help separate pre-loss condition from damage caused later. The same applies outside: fencing, decking, siding, outdoor equipment, and landscaping are easier to describe when there is a recent visual record.
If you have a few hours
With a few hours, the work changes from emergency capture to claim preparation. You still should not dismantle the house looking for every receipt. Use the extra time to make the evidence searchable, backed up, and easier to turn into a contents list if you cannot return.
- Create a folder named with the property address and date.
- Upload videos and photos to cloud storage or send copies to someone outside the evacuation area.
- Take screenshots of insurance policy pages, agent contact information, mortgage or landlord contacts, and utility account numbers.
- Photograph recent improvement records: permits, contractor invoices, materials receipts, appliance warranties, manuals, and before-and-after renovation photos.
- Start a simple inventory note by room. Use plain labels: “primary bedroom,” “garage east wall,” “kitchen pantry.”
- Put irreplaceable documents and portable proof in one bag: IDs, policy information, legal papers, hard drives, receipts, and medical paperwork.
The inventory note does not need prices while you are still deciding whether roads will close. It needs hooks for memory: brand names where obvious, approximate age if you know it, which family member owned the item, and whether there are receipts somewhere. Later, those hooks can help you search email, retailer accounts, bank statements, photo libraries, and warranty registrations.
If you have a day or more
This is when a real home inventory becomes possible. It is still not the first job if people are not ready to leave, vehicles are not fueled, animals are not contained, or medications are not packed. Once those are handled, build the claim file you would want if you were not allowed back inside.
- Walk every room with video, then take still photos of walls, storage, and high-value items.
- Export or screenshot online purchase histories from major retailers.
- Save digital copies of contractor invoices, permits, warranties, manuals, appraisals, and maintenance records.
- Photograph the inside of drawers and cabinets instead of emptying them.
- Record model and serial numbers for major appliances, electronics, tools, and equipment.
- Store copies somewhere reachable from another device, not only on the home computer.
If you have appraisals for jewelry, art, antiques, collectibles, or specialized equipment, save copies with the evacuation documentation. If you do not have appraisals, do not invent values under pressure. Photograph the item, note what you know, and preserve whatever purchase or ownership evidence exists.
What to say while recording
Narration is underrated because it feels awkward. Use it anyway. A phone camera moving through smoke-dark rooms may not capture every detail. Your voice can label rooms, explain what is being shown, and mark timing.
- “Today is [date], and this is the home at [address]. We are documenting before evacuation.”
- “This is the garage. These shelves hold camping gear, tools, paint, seasonal decorations, and bike equipment.”
- “This is the primary bedroom closet. Clothing, shoes, luggage, and stored bedding are inside.”
- “This is the kitchen. The refrigerator, dishwasher, range, and microwave are installed and working as of this recording.”
- “This deck and fence are present before evacuation.”
Keep the wording plain. You are not making a legal argument into the phone. You are creating labels for a future claim file, when the rooms may no longer be available to inspect.
The document pouch that actually works
The best evacuation document system is boring and close to the exit. It should not require anyone to remember which cabinet has the binder, which laptop has the scan, or which password manager holds the account. If the pouch cannot be found in the dark by someone who did not assemble it, it is not ready.
- One printed insurance declarations page or a printed card with policy number, carrier, agent, and claim phone number.
- Copies of IDs and essential household documents, as appropriate for your household.
- A short page listing mortgage company or landlord, utility providers, vehicle information, and emergency contacts.
- A flash drive or small external drive only if it is already backed by cloud copies; do not make it the only copy.
- Recent high-value receipts or a note explaining where digital receipts are stored.
- Medication list, medical device information, and pet records if those affect evacuation lodging or immediate care.
This pouch should not become a filing cabinet. If it gets too full, people stop grabbing it. The full archive belongs in cloud storage and, if possible, with a trusted person outside the area. The evacuation pouch is for what must travel quickly.
Do not let documentation steal evacuation time
There is a hard line here. If officials tell you to leave, if fire conditions are changing, if visibility is poor, if roads are backing up, or if someone in the household needs help moving, stop documenting and go. The claim can be rebuilt imperfectly. People cannot.
That does not make documentation optional. It means the checklist has to be ruthless. Video before individual photos. Rooms before objects. Visible labels before hidden serial numbers. Existing receipts before receipt hunting. Cloud copy after safety, not instead of safety.
After you leave: protect the evidence trail
Once you are out of the evacuation area, shift from capture to preservation. Charge the phone. Upload the files. Do not edit the original video except to make a duplicate copy. Put photos, videos, receipts, policy screenshots, evacuation expense receipts, and notes in one folder. If several family members recorded different rooms, have them send everything to the same place.
- Name files by date and room if you have the energy: “2026-08-26 garage shelves” is better than a random camera filename.
- Write a short timeline while it is fresh: warning received, evacuation ordered, departure time, lodging, expenses, and any known damage reports.
- Save receipts for evacuation-related spending in a separate folder or envelope.
- Do not throw away damaged property after return until you have followed your insurer’s claim instructions, unless safety or local rules require removal.
- Keep a claim contact log with dates, names, phone numbers, and what was discussed.
The post-evacuation file is where the rushed documentation becomes useful. A fast garage video, a screenshot of the tool order history, and a note that the east wall shelves held camping gear can work together. None of those pieces is perfect alone. Together, they are better than trying to reconstruct the entire garage from memory weeks later.
The checklist, compressed
If you only remember one version, use this one.
- People, pets, medications, keys, phone, charger, and go-bag first.
- Start one continuous home video: date, address, rooms, storage, exterior if safe.
- Take still photos of high-value and easy-to-forget areas: closets, garage, office, appliances, tools, exterior features.
- Grab the document pouch if it is ready; do not build one from scratch while leaving.
- Photograph visible serial numbers and receipts only when they are quick.
- Upload or send copies once you are safe.
- After evacuation, organize files by date and room, save expense receipts, and write a brief timeline.
A longer checklist is not automatically a stronger one. Under wildfire pressure, the useful checklist is the one that matches the time you actually have. Capture the evidence most likely to vanish, preserve it somewhere outside the house, and stop the moment documentation competes with leaving.
Comments
Join the discussion with an anonymous comment.